How AutoNDA Works

In this post, I’ll share with you some of the basics on getting started with your free AutoNDA account.
If you have more questions that don’t get answered here, you can always email us at [email protected].
Step 1: Request Access - You can request access to the free version of AutoNDA by completing the form at simpledocs.com. At the time of posting, the waitlist to get access is between 2-3 days.
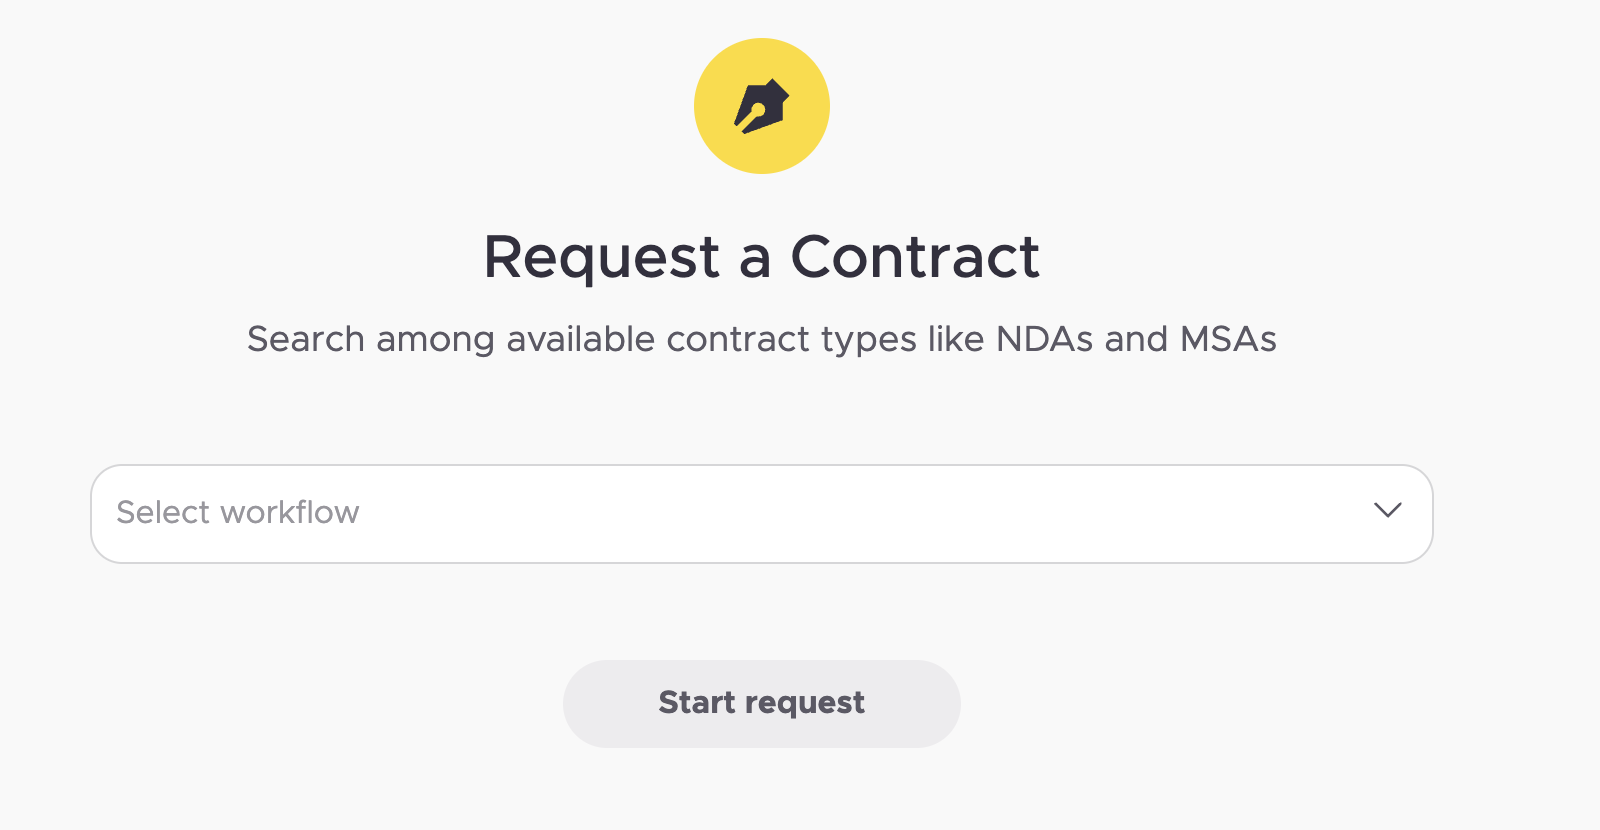
Step 2: Set Password and Request Test - Once you’ve received your access credentials via email, you’ll be prompted to set your password. From here, we encourage you to immediately send a test NDA (look for the Request button). This allows us to confirm your account is functioning properly. Please send a test NDA to [email protected].
Step 3: Add Users - Now that your AutoNDA account has been tested, the next step is to add additional users, as needed. If you don't need to add users, skip this step. You can add new users through this page. Either select Administrator or Designer for each new user. These are default Groups with different access rights that you’ll be able to modify by creating additional user groups here or by changing the Group access rights here.

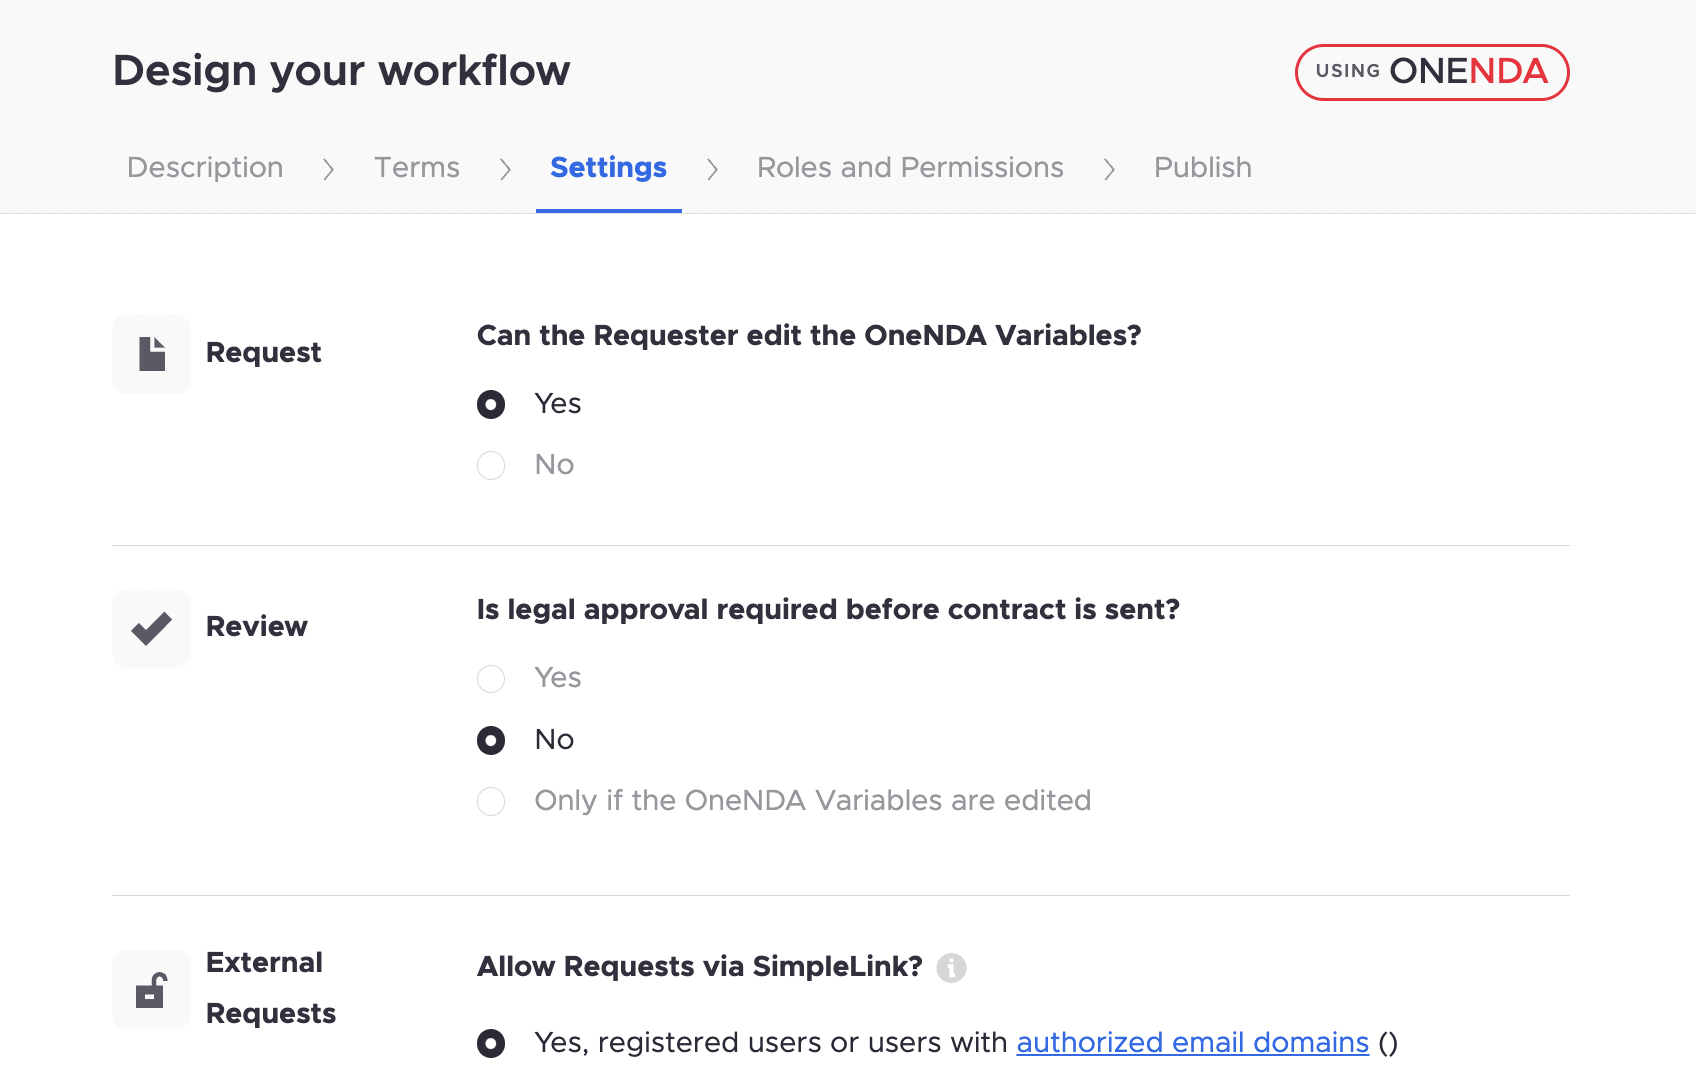
Step 4: Workflow Configuration - Every free oneNDA account comes with one preset NDA workflow. You are able to customize the default variables, as well as rights and permissions for this workflow by clicking on the /workflows page and clicking on the 3 dots. See image below. If you need help configuring your workflow we host weekly training sessions here or you can email us to [email protected].
Step 5: SimpleLink Test - Next you’ll want to test the SimpleLink feature that enables self-serve access. First, head back over to your /workflows page, and click on the 3 dots and select the Link to Create Requests option. Your SimpleLink is now ready. You can now share this SimpleLink with someone in your organization who is willing to test it out. Be sure to instruct them to send the NDA to you as the test recipient.

Note: if you try to use the SimpleLink yourself, it will link to your logged in Admin account and not give you an accurate view into the SimpleLink experience for your business teams. If you want to test it yourself, be sure to use incognito mode in your browser.
Step 6: eSign Integration - All free AutoNDA accounts are initially provisioned with a private Dropbox Sign account for testing purposes. Once you’ve completed your NDA workflow setup and completed the tests above, you are now ready to integrate with your own eSign tool. We currently support Docusign and Dropbox Sign with Adobe Sign coming very soon. If your eSign tool is not yet offered for integration into AutoNDA, you’re welcome to continue using our private Dropbox Sign account until that integration is live.
Step 7: Default Participants - Now you will configure Approvers and Signers. Approvers are those with rights to review and release new NDA requests, and rights to negotiate and accept proposed changes to the NDA. This is typically a person or persons on your legal team. Signers are the individuals or individual who will receive the countersigned NDA for final signature. These Default Participants can be configured through this page here.
If you still have questions about your AutoNDA account, please email or join one of our weekly training sessions. Registration is here.